Intro to Rappelling
Module 27
As there are numerous “descender devices” out on the market, please read the manual on yours before you do your first rappel. It is CRITICAL to know how to operate yours.
The flow of the rope will be universal as it will take it from the the top of the device to the bottom. But the one that you use will depend on what type of friction levels you can start off with or add on the fly.
Before you begin rappelling, first, as a pre-check, make sure that your rope is touching the bottom of the ground. If it’s not, readjust the rope length.
Next, realize how high the rappel is and your body weight (which can include a heavy backpack).
After you know how to use your descender device correctly from the manual, use the correct amount of friction for your weight and length of the rappel.
Are you unsure of what friction levels you should be using? Find a local cliff in your neck of the woods and bring at least one experienced person who has rappelled before and let them show you and belay you as you go over the edge for the first time! It’s exciting.
Your first canyon trip should not be the first time you have ever rappelled! You will BE a liability for your whole team once they find out that you haven’t rappelled before.
Here are some things you can remember for when you first rappel:
-
Trust your guide and their knowledge. If something doesn’t seem right, say something.
-
It’s perfectly natural to feel scared or awkward as you lean over the edge. And lean, you must!
-
You want to rappel perpendicular to the wall, not parallel or try to climb it. (SHOW PICTURE)
-
Keep your brake hand either by either side of your waist and let the rope feed through.
-
You can use a leather glove to absorb some of the friction heat that is given off while you rappel.
-
But it is not mandatory. In fact, the community argues that you should know how to rappel without the aid of a glove as it can create a false-sense of security.
-
-
When you are attached to the anchor, remove the extra slack from the rope. (SHOW PIC)
-
Slowly walk backwards with the rope feeding through your brake hand.
-
When you get to the transition from horizontal ground to vertical wall, this is where you need to lean back, and get perpendicular to the wall.
NEVER, EVER, LET GO OF YOUR BRAKING HAND! Even if you feel like your face is going to smash into the wall, don’t let go of your hand to protect your face. It’s better to have your face smashed-in a bit versus you letting go and essentially free-falling to your death.
Here is a video of a rappeller, for some unclear reason let go of his braking hand from the rappel! Thankfully he was “alright” after slipping 30 ft (the entire rappel is 60 ft and he slid down 1/2 of it). You can see him in the video around the 30 second mark slip, and instictively, he let go of the rope so that he could protect his face from hitting the ground. But, as he DID let go of the rope…guess what happened…
Again, this is why you don’t ever let go of your rope, even if your face is going to smash against the rock. THIS concept has to be understood by EVERY rappeller!
There are other ways to prevent something like this, such as an auto-block, or something even easier such as a “firemans belay”, but unfortunately neither were used in this setting.
When you are in learning how to rappel (while under the supervision of another rappeller), here are some things to keep in mind:
Don’t “bounce” or jump on the rope.
Don’t go side to side, like a pendulum.
Practice at your comfort level and speed while rappelling.
Practice adding friction while on rappel with your specific descender device.
Practice stopping while on rappel and locking-off.
Learning these steps can significantly improve your rappelling skills and turn it into an enjoyable experience.
It’s been said that rappelling while canyoneering isn’t the reason why we do it and I tend to agree. However, rappelling is a very fun part of the experience but it shouldn’t be the primary purpose. A secondary reason, sure.
We are to see and enjoy the canyon, explore its secrets, but also preserve and protect it!
#1 – Harness on.
#2 – Helmet on.
#3 – Attach PAS (Personal Anchor System) to Harness
#4 – Attach PAS via Girth Hitch to belay loop (or another loop adjacent to belay loop).
#5 – Attach Carabiner to PAS
#6 – Attach Carabiner to Gear Loop (to keep out of the way).
#7 – Attach descender device to carabiner, which is then attached to the belay loop
#8 – Attach 3x carabiners to gear loop on harness.
#9 – Locate anchors at rappel (if any)
#10 – 1st thing – “clip in” via your PAS to the anchor (so you don’t slip off the wall while you are setting up the rappel with your ropes)
#11 – PAS in this picture is clipped into the chains
#12 – Get rappel ready (or near by). Bring rappel rope close to anchor.
#13 – Thread rappel rope through quick link (or what is appropriate for your rappel station and anchor)
#14 – Yell “Rope!” or “hey! heads up – I’m tossing a rope down” – followed by tossing the rope(bag) down.
#15 – Setup your rappelling knot (it depends for each rappel, your group situation/dynamics, if there is a water flow, etc.)
#16 – Thread rope through your rappel device
#17 – See the slack from the rappel device to the anchor?
#18 – Remove slack by threading extra rope through rappel device
#19 – Last; remove PAS from anchor point
#20 – Get feet firmly planted on rock wall
#21 – Legs should be perpendicular to wall; keep brake-hand by waist
#22 – Walk backwards down the wall; maintaining good friction control
#23 (Angle from the bottom looking up at the rappeller)
#24 – Good technique here; It should “look” this way when you (or someone else) is rappelling.
#25 – Bad technique being demonstrated here; don’t try to climb-down. Rappel! And Rappel with your legs out. It’s much easier and less scary than you might think.
#26 – Similar as before, not good technique, but slightly better. You want to become nearly perpendicular with the wall; not like this.
#27 – At an overhang, first, plant your feet right at edge; while staying perpendicular
#28 – Feet are still on ledge, but lower your butt/upper half, LOWER than your legs
#29 – Butt/upper half is nearly at the stretch point for Sarah. Good technique for safely rappelling an overhang.
#30 – When you can’t lower butt/upper half anymore, drag feet off of cliff edge
#31 – Doing it this way, prevents your head from hitting the rock wall and minimizes swinging/bouncing on the rope (which increases the force that is exerted on the anchor above)
#32 – Sarah is now ready to rappel again, and with hair, fingers, and gear away from rock wall.
#33 – Sarah continuing on with the rappel
#34 – Nearly at the bottom of the rappel!
#35 – Reached the bottom! Rope and descender device STILL attached at bottom of rappel
#36 – Depending on your rappel device, you may remove the rope from the device while the descender device is STILL attached to your harness. This is good practice and a standard, as it minimizes dropping the device in water or a water-filled pothole, where it may be impossible to retrieve!
#37 – Rope almost removed from descender device
#38 – Rope, now removed completely. Descender device still attached to harness. All done! Nicely done Sarah!
Intro to Rappelling - Step by Step
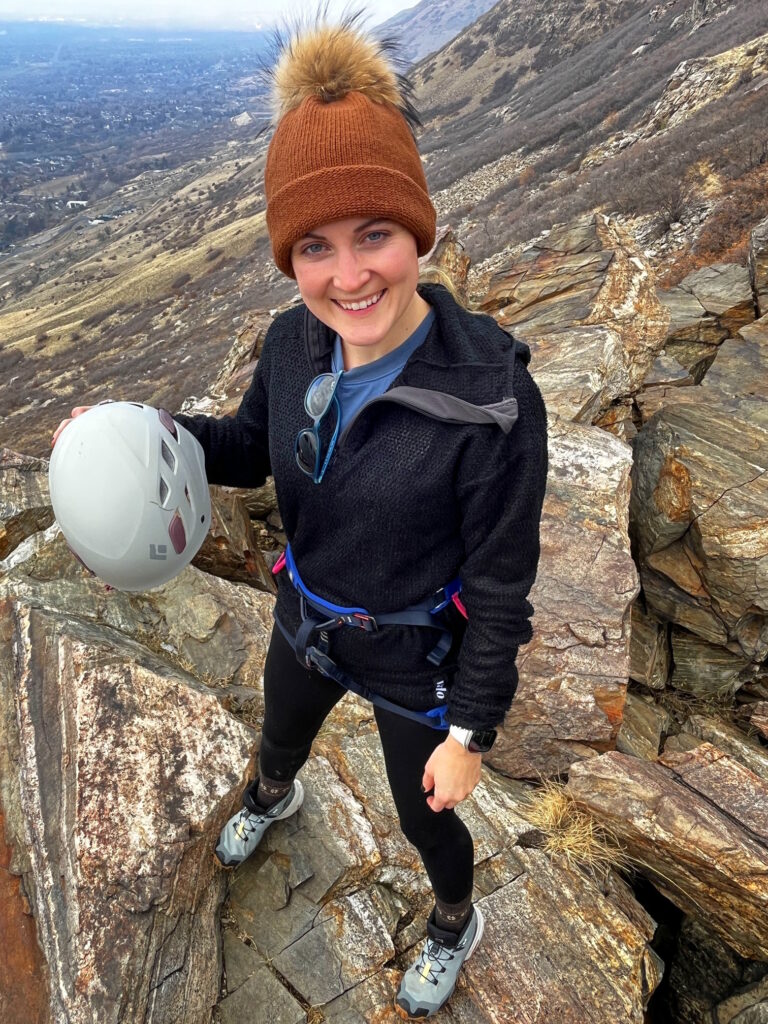
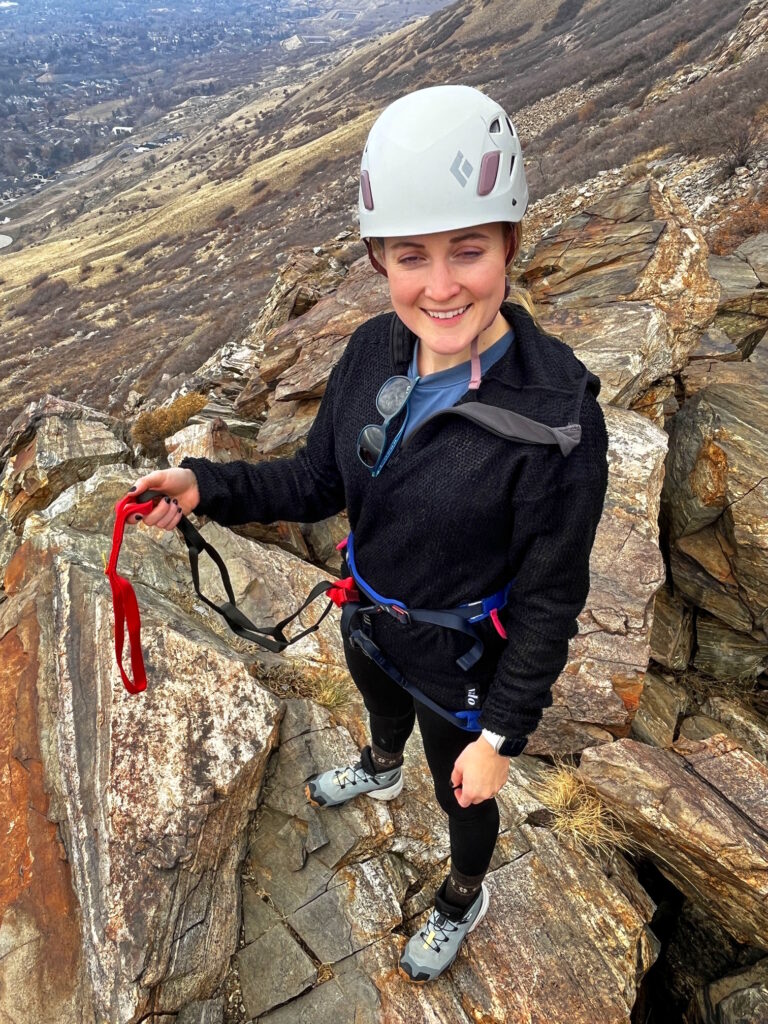
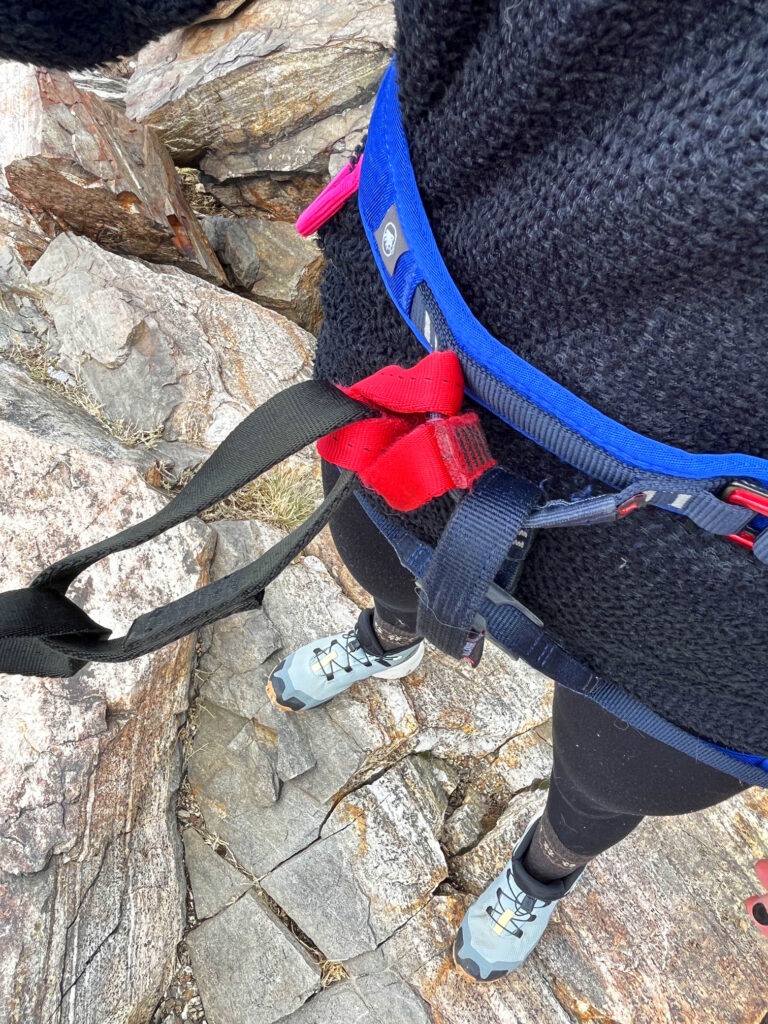
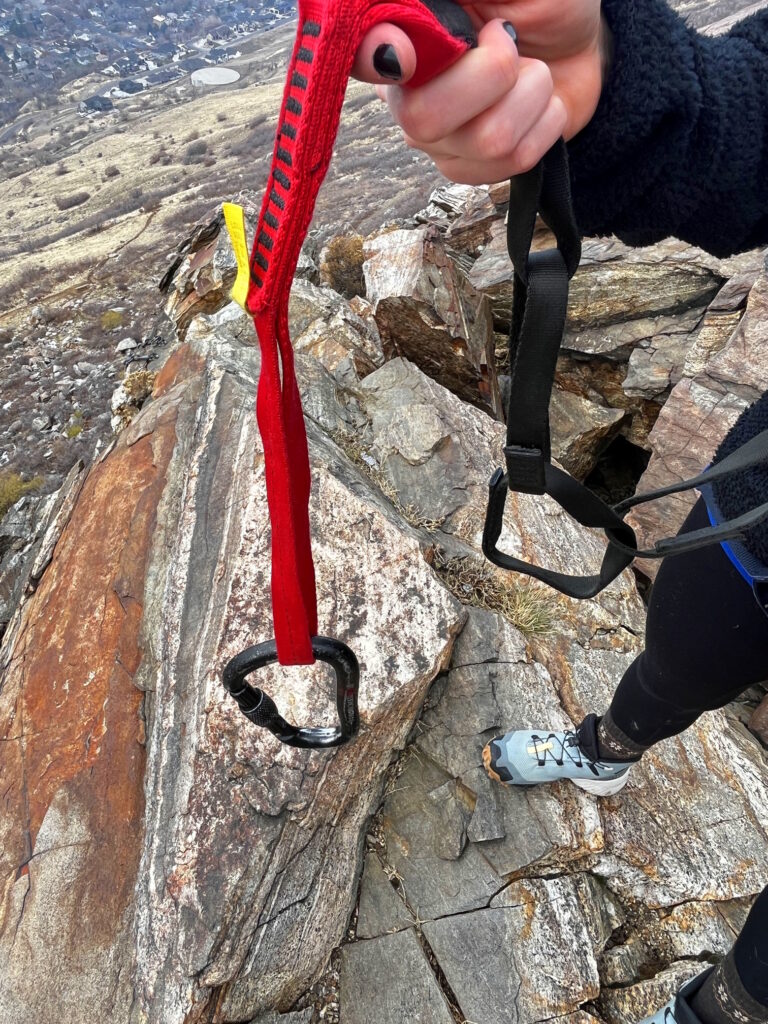
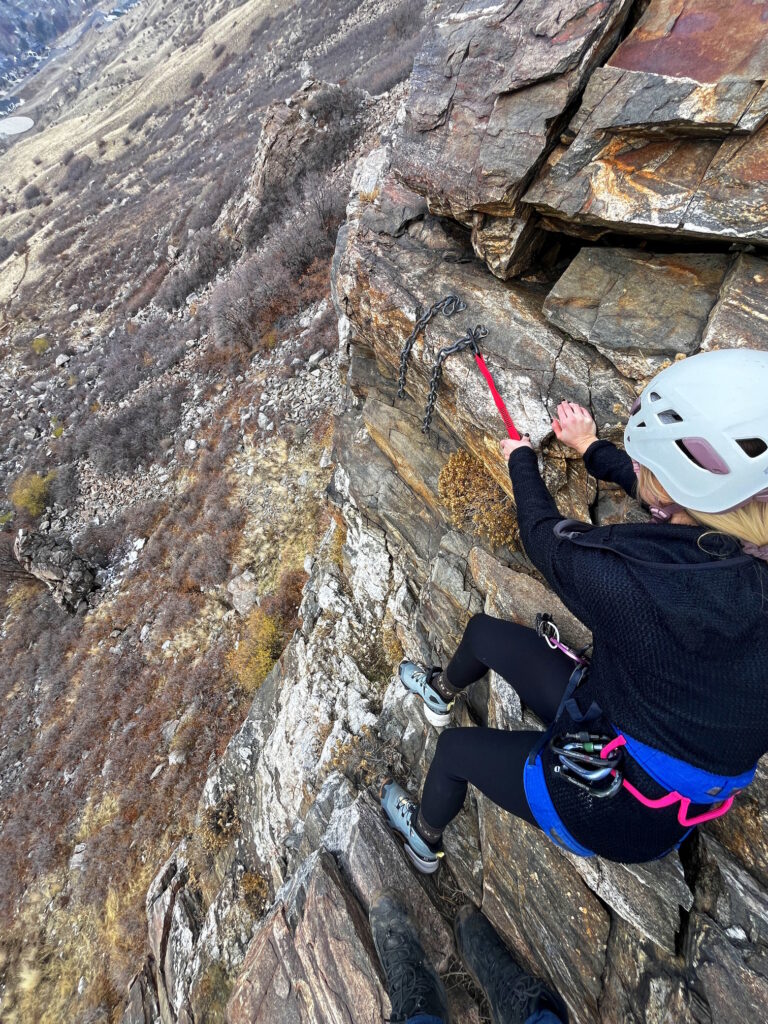
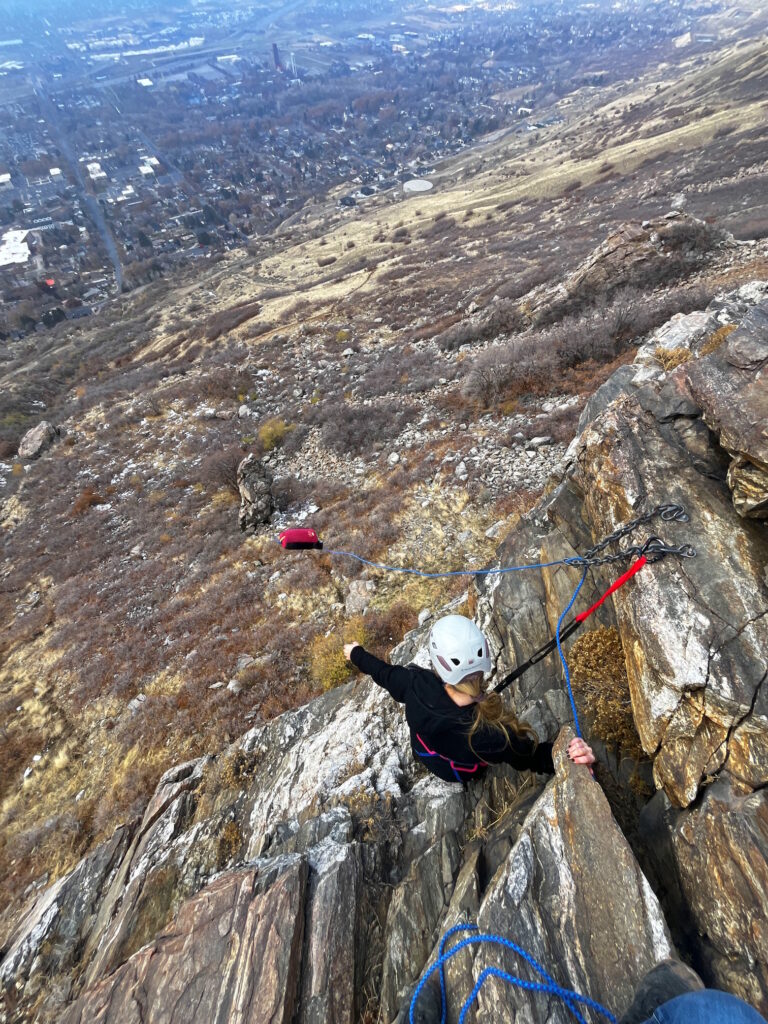
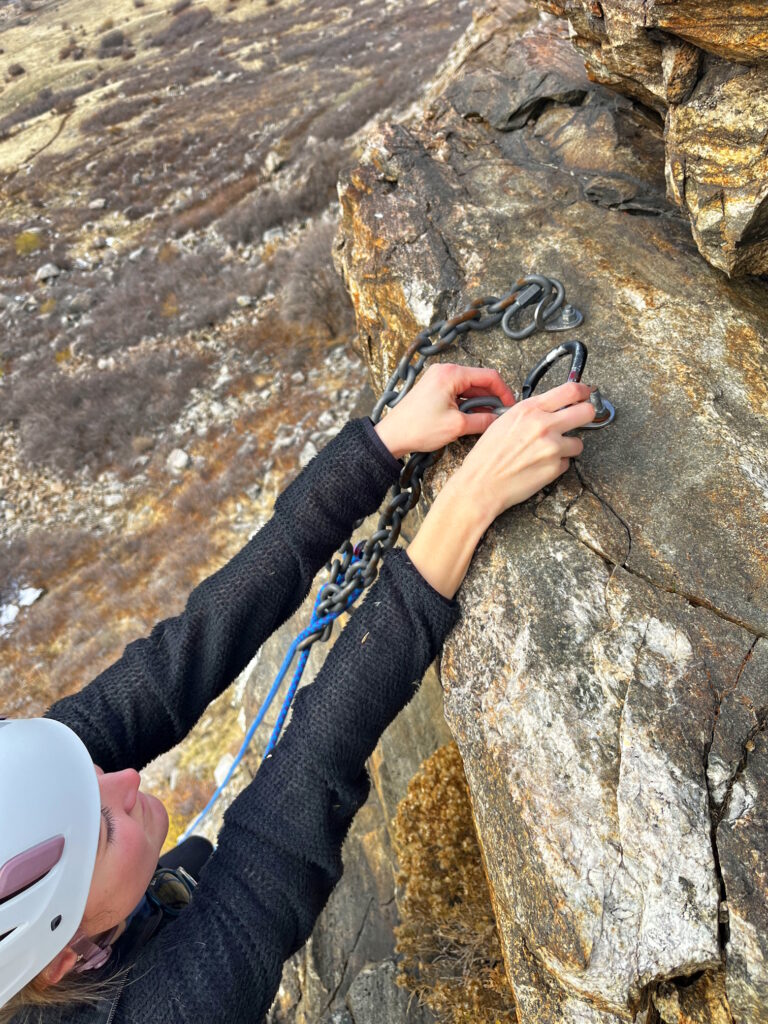
Step 1: Secure Your PAS
Before doing anything else, clip your Personal Anchor System (PAS) to a quick link or webbing at the anchor. This keeps you securely attached to the anchor and prevents fatal falls if you slip.
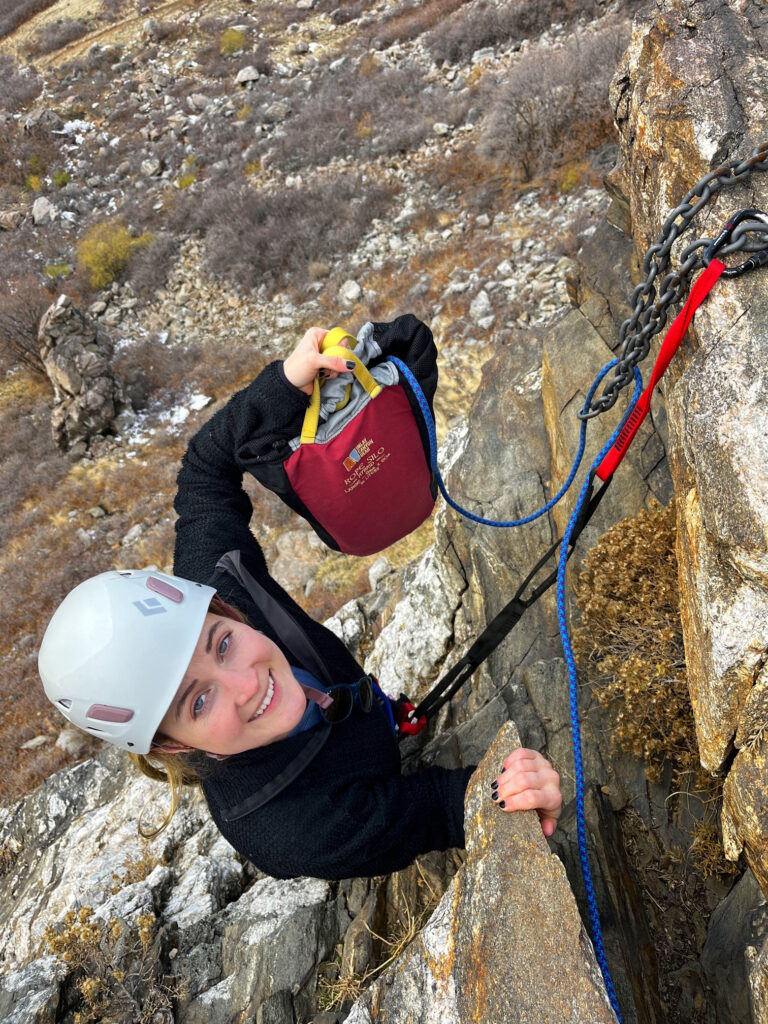
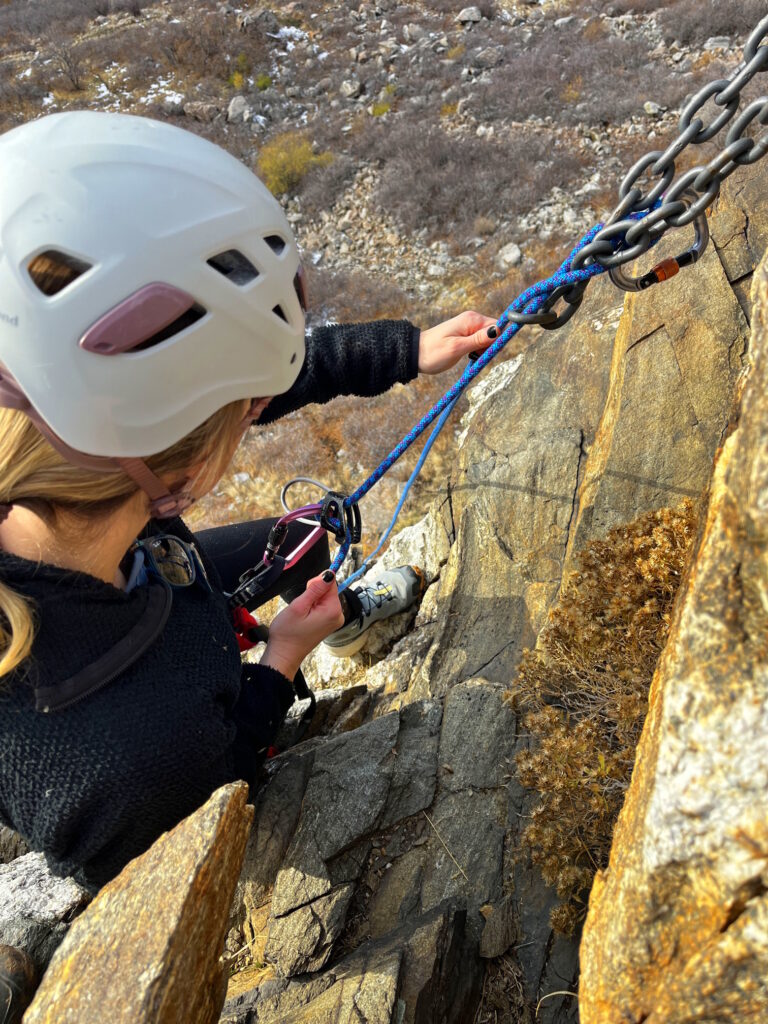
Step 2: Set up the Rope
With your PAS secured, prepare the rappel rope. Choose the appropriate rigging method—releasable (ghosting), contingency, single strand, or double strand—based on the plan. Attach the pull-cord if using one, and confirm the setup with your group or guide.
Step 3: Drop the Rope
Drop the rope over the edge while staying attached with your PAS. Toss it carefully, considering the terrain below.
Step 4: Check the Rope
Ensure the rope reaches the bottom. Listen for a thud if you’re using a rope bag, or visually confirm. If the rope is snagged or doesn’t reach, pull it back up and re-toss. Stay clipped in and look over the edge if needed.
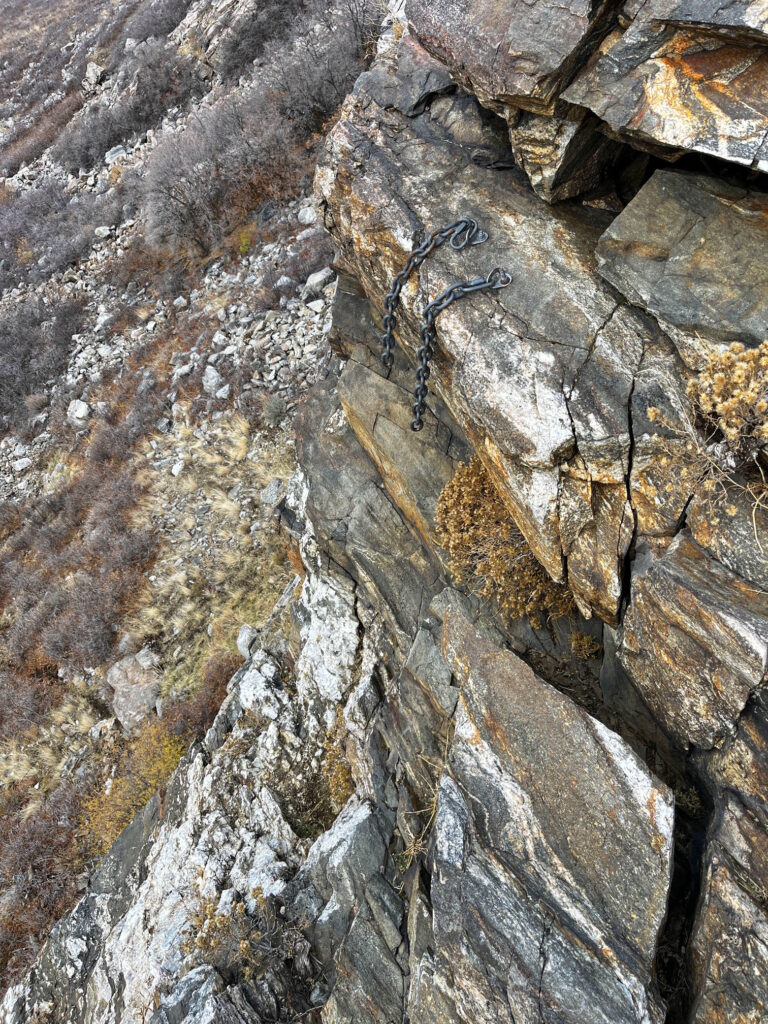
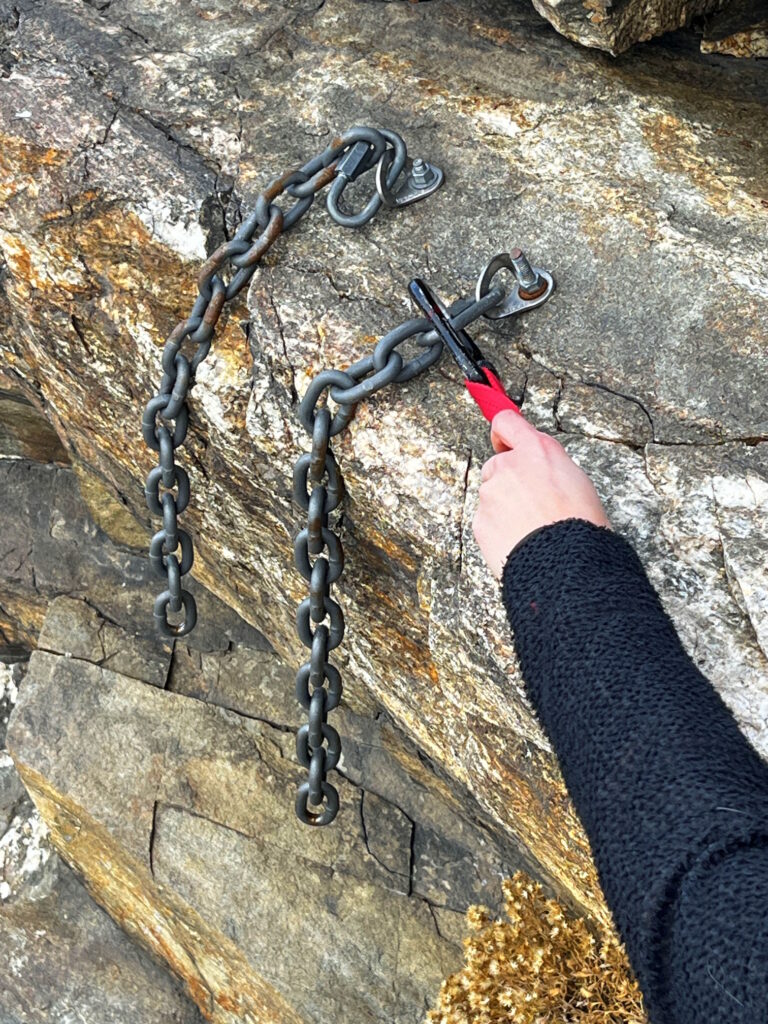
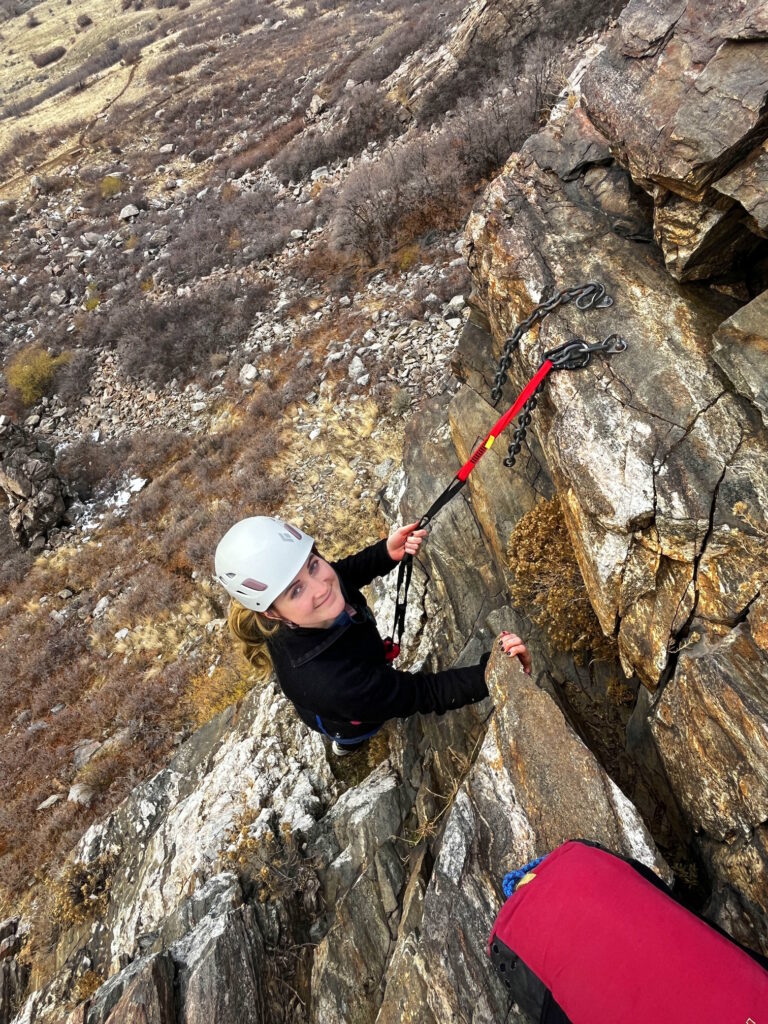
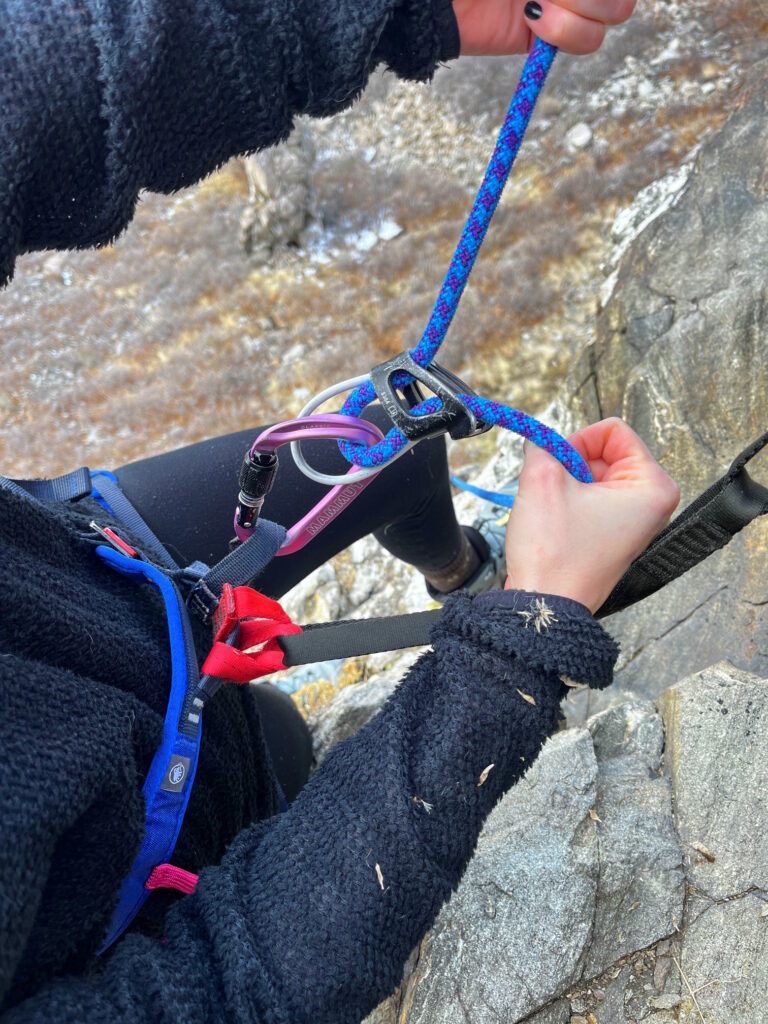
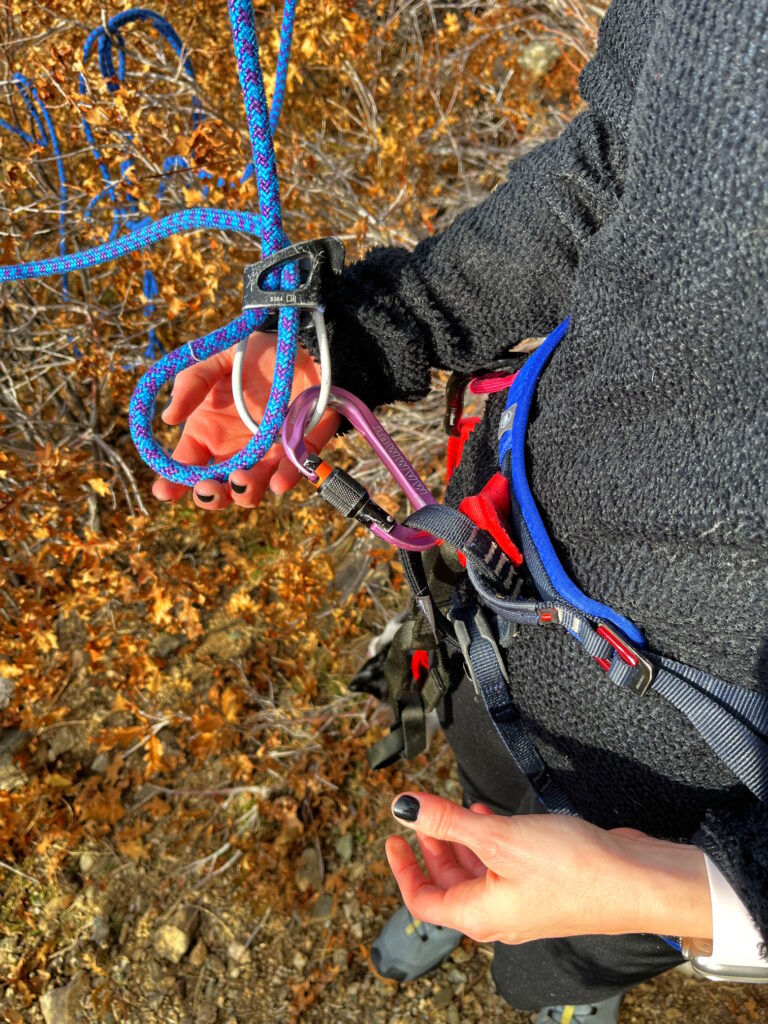
Step 5: Verify the Knot
Inspect the knot securing the rope to the anchor. Ensure it is tied correctly, snug, and secure before continuing.
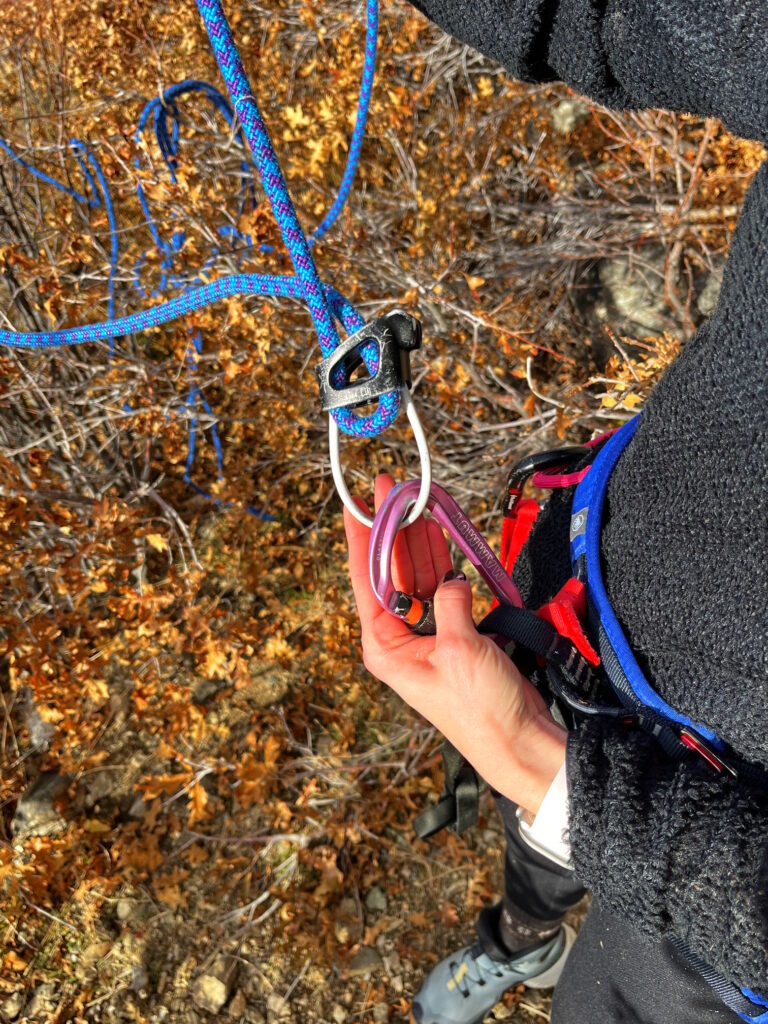
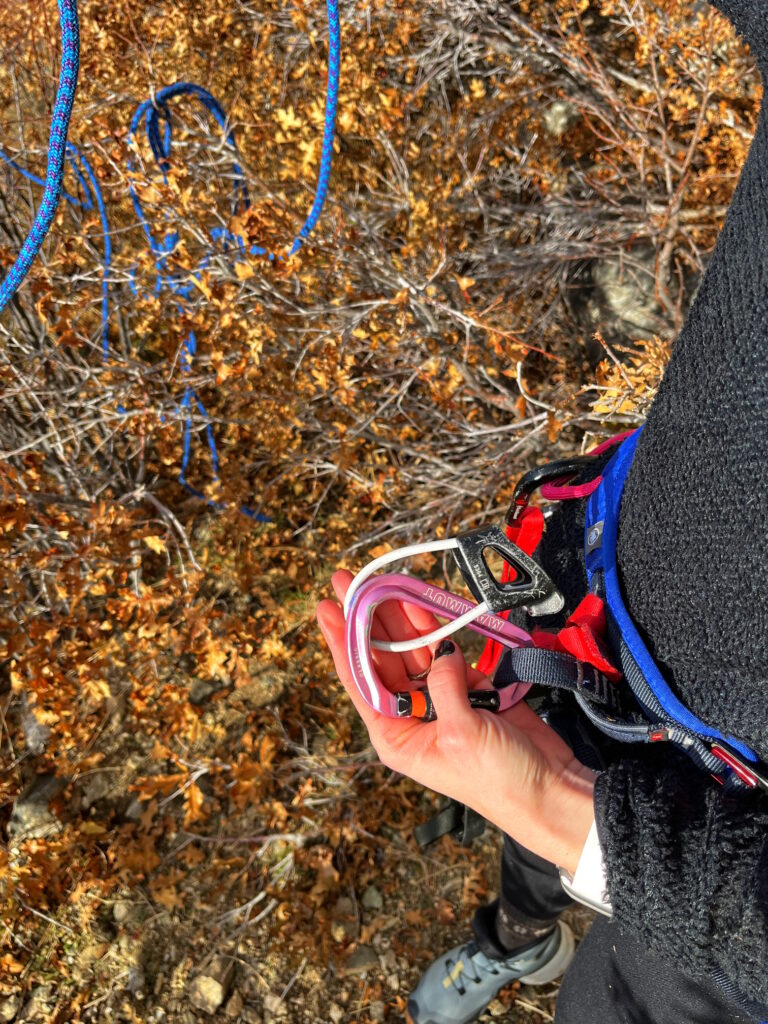
Step 6: Thread the Rope
Thread the rope through your descender device. Right-handed individuals should keep the rope in their right hand and outside their right foot; left-handed individuals should do the same on their left side.
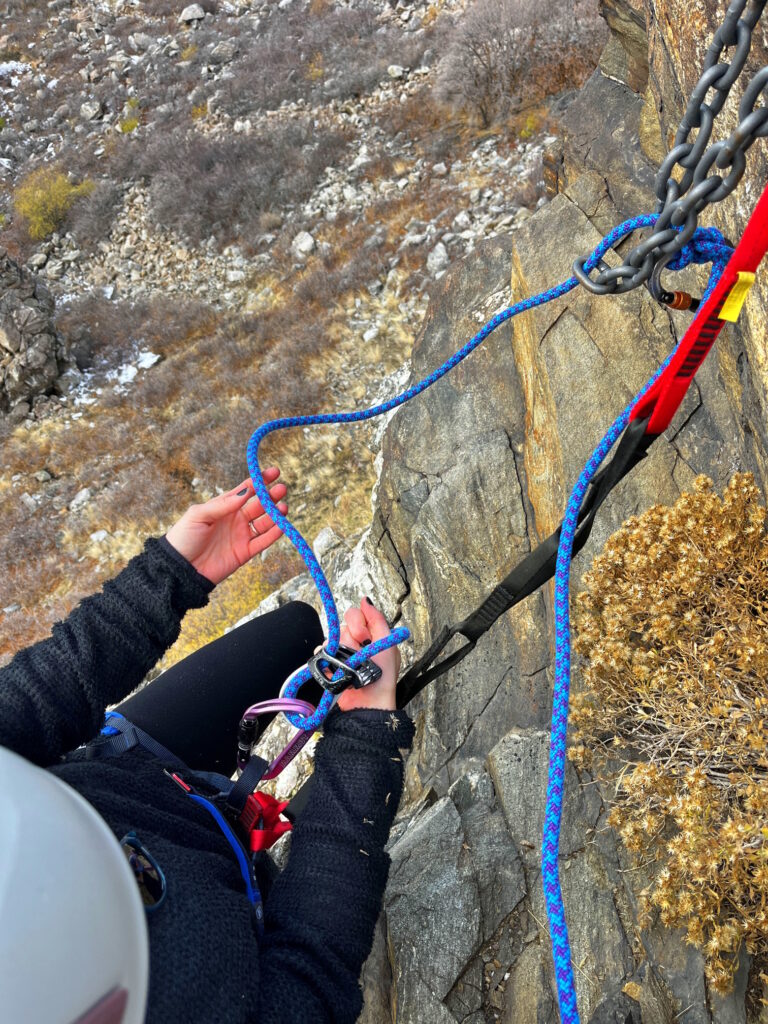
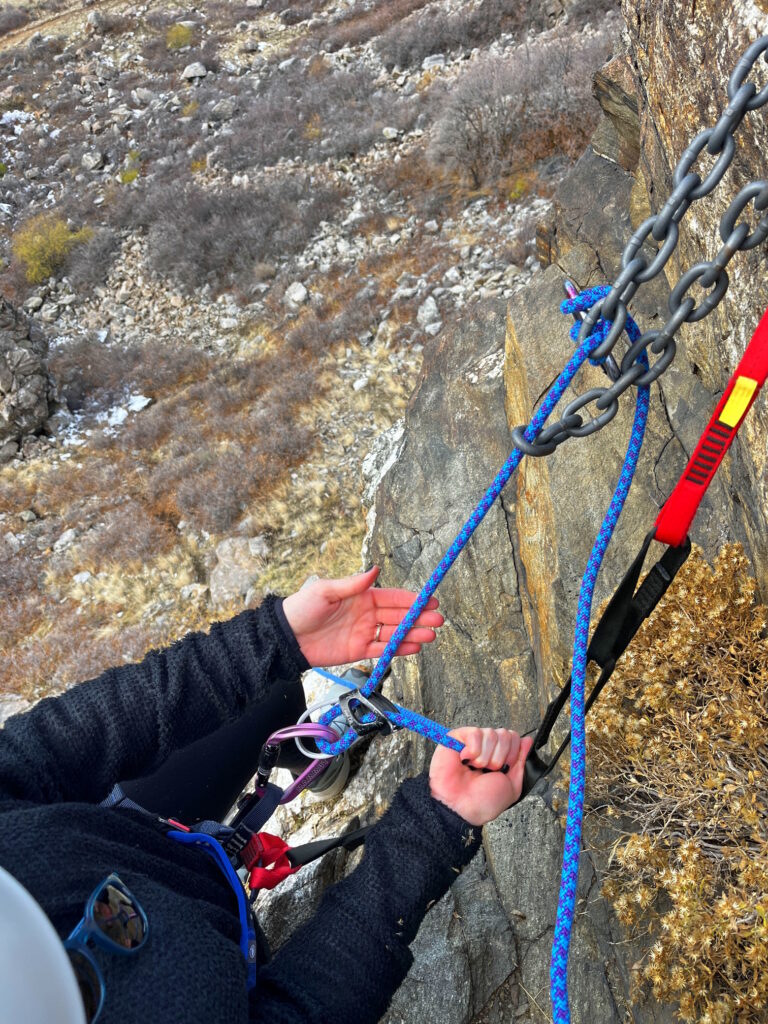
Step 7: Remove Slack
Pull out any excess slack in the rope from the descender device to the anchor point. This ensures a smooth rappel start.
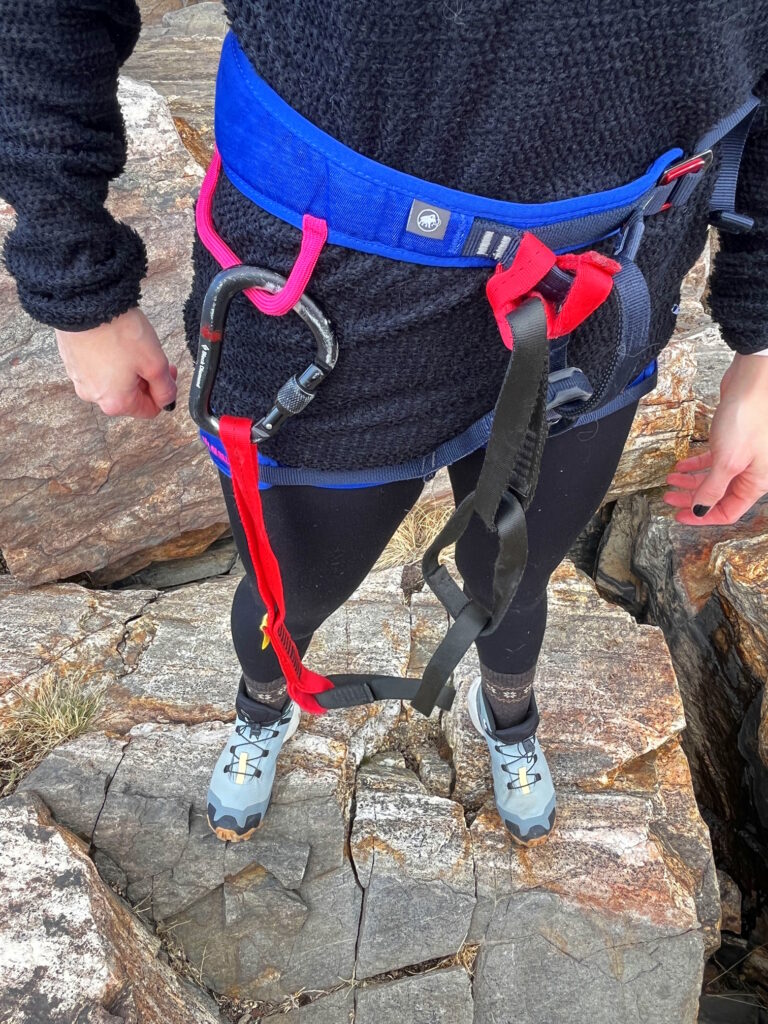
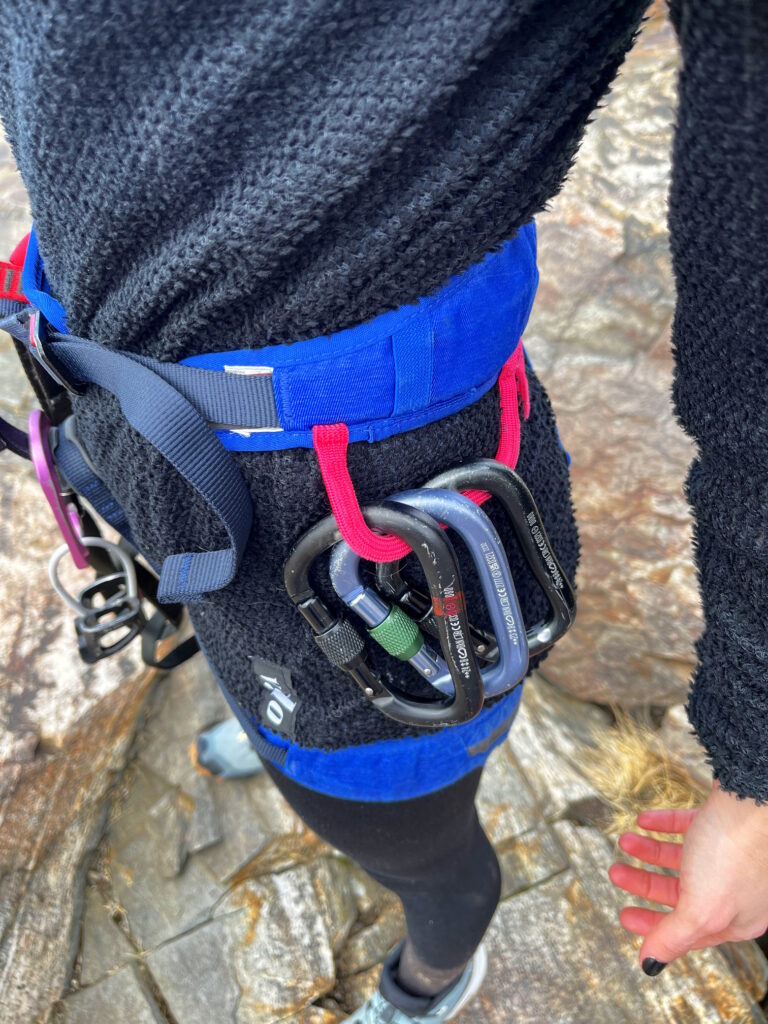
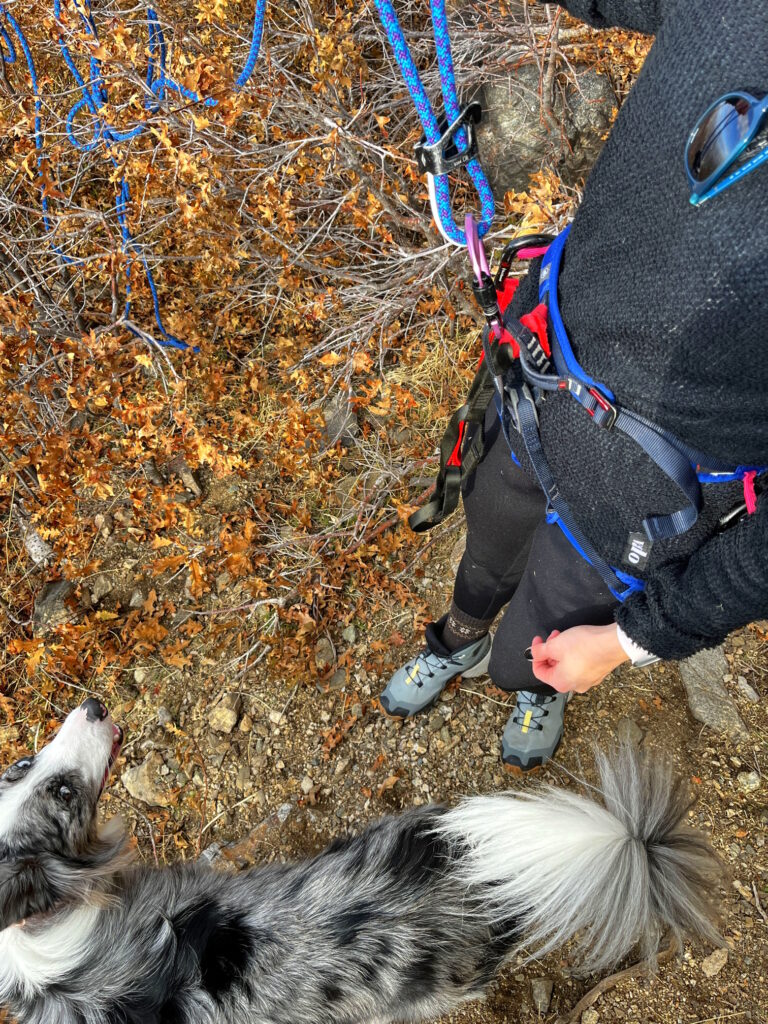
Step 8: Detach Your PAS
When ready to rappel, unclip your PAS from the anchor. Keep a secure grip on the rope to maintain control.
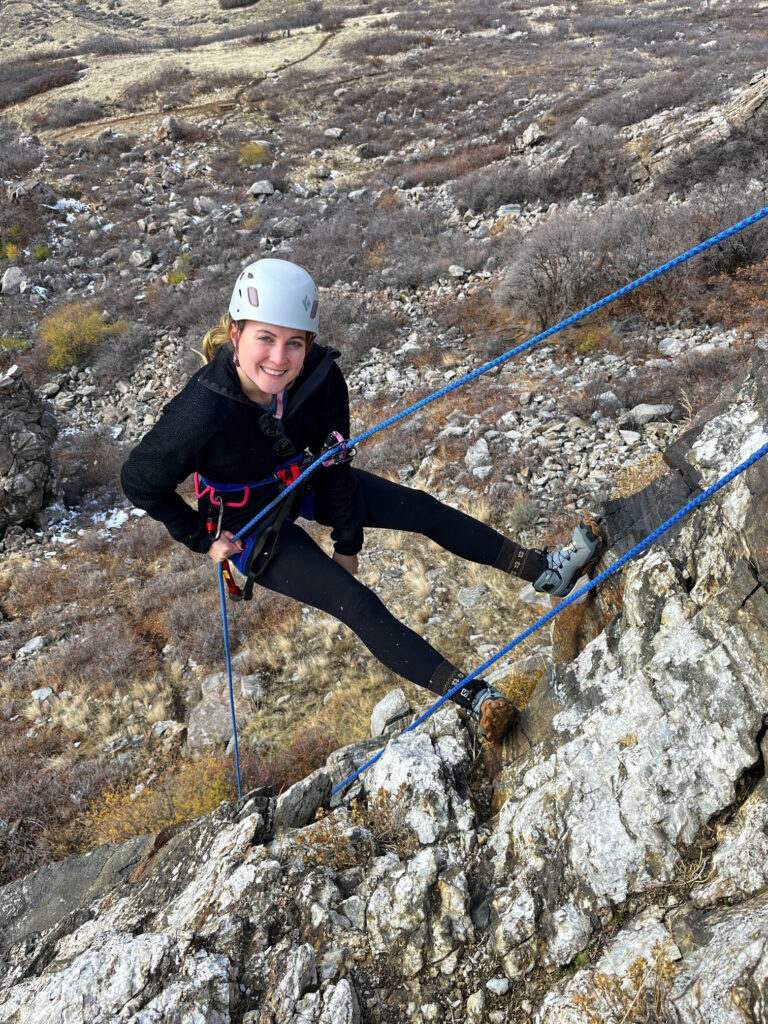
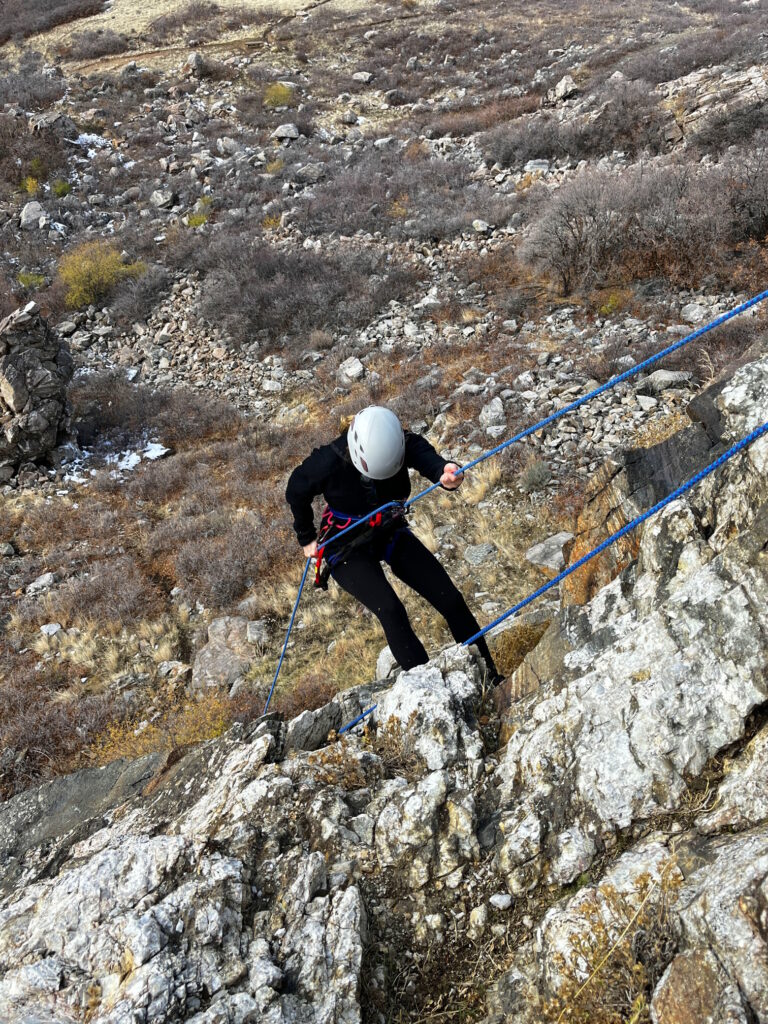
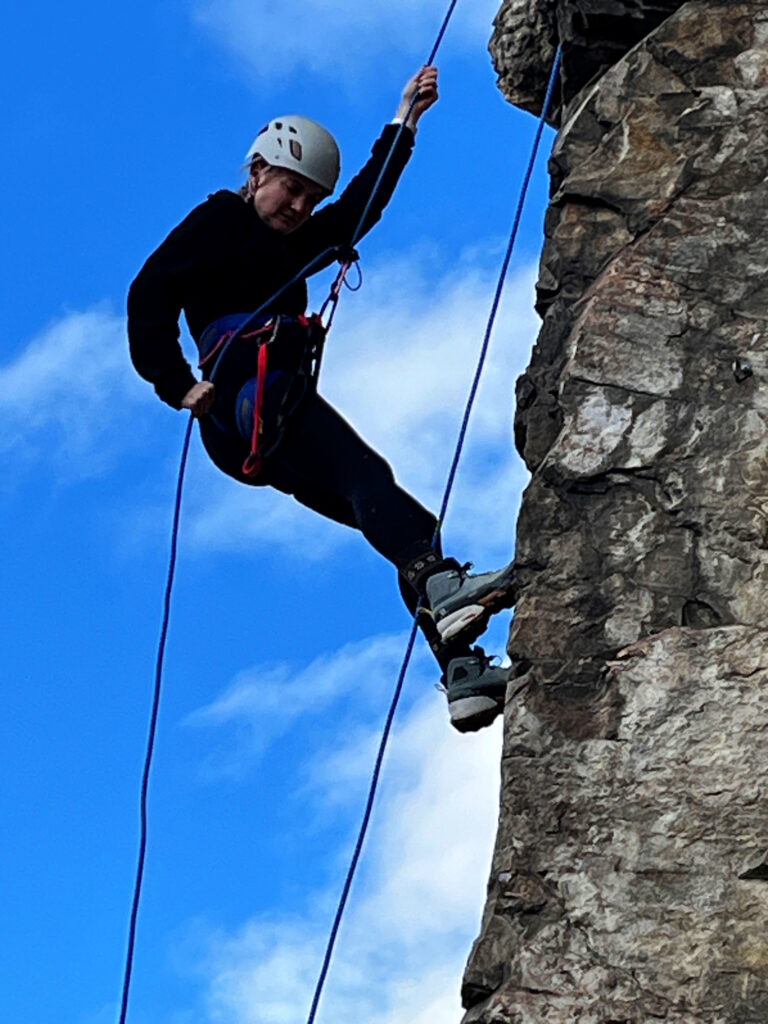
Step 9: Maintain a Brake Head
Always keep your brake hand at waist level, away from the descender device, to control the rope.
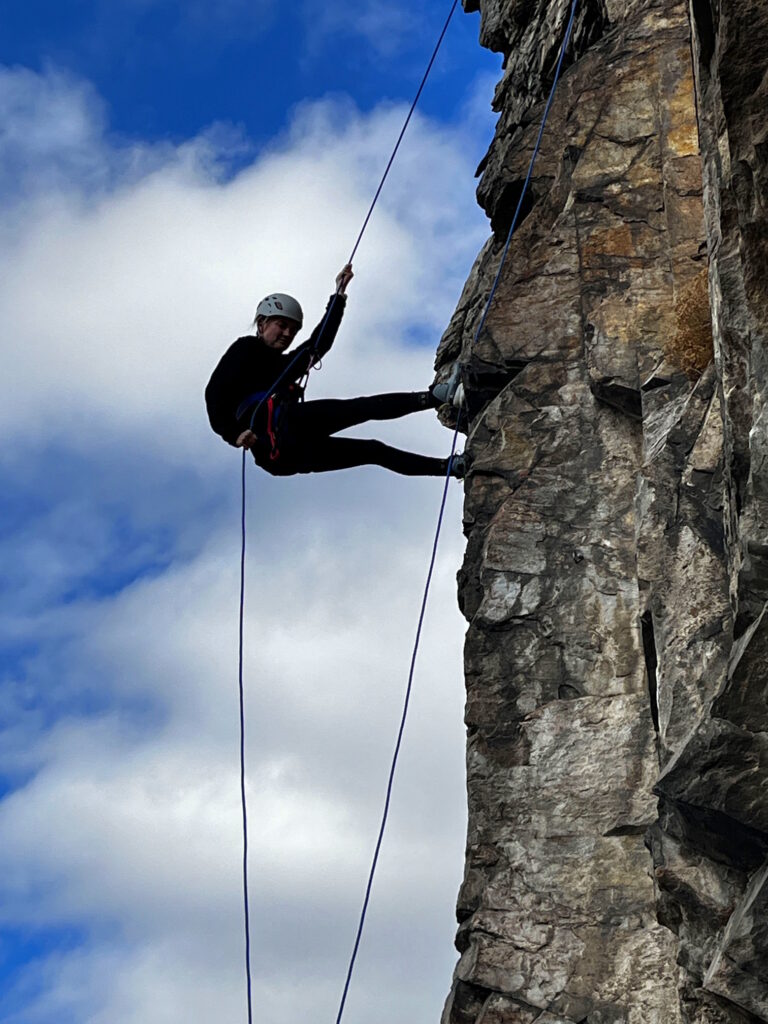
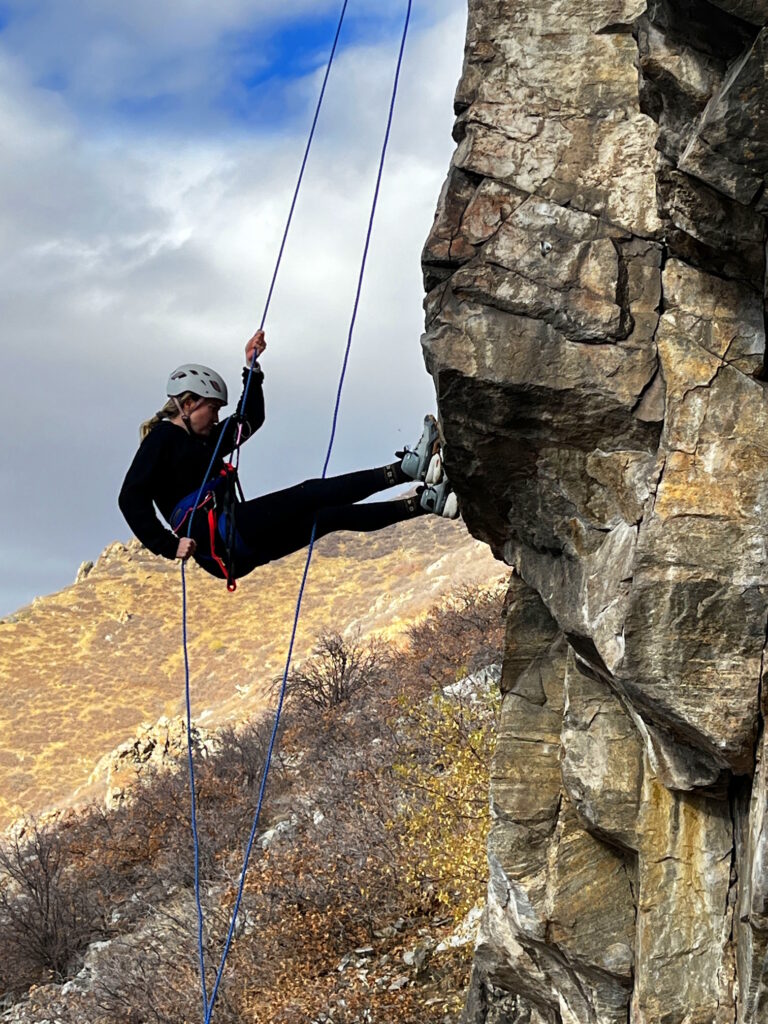
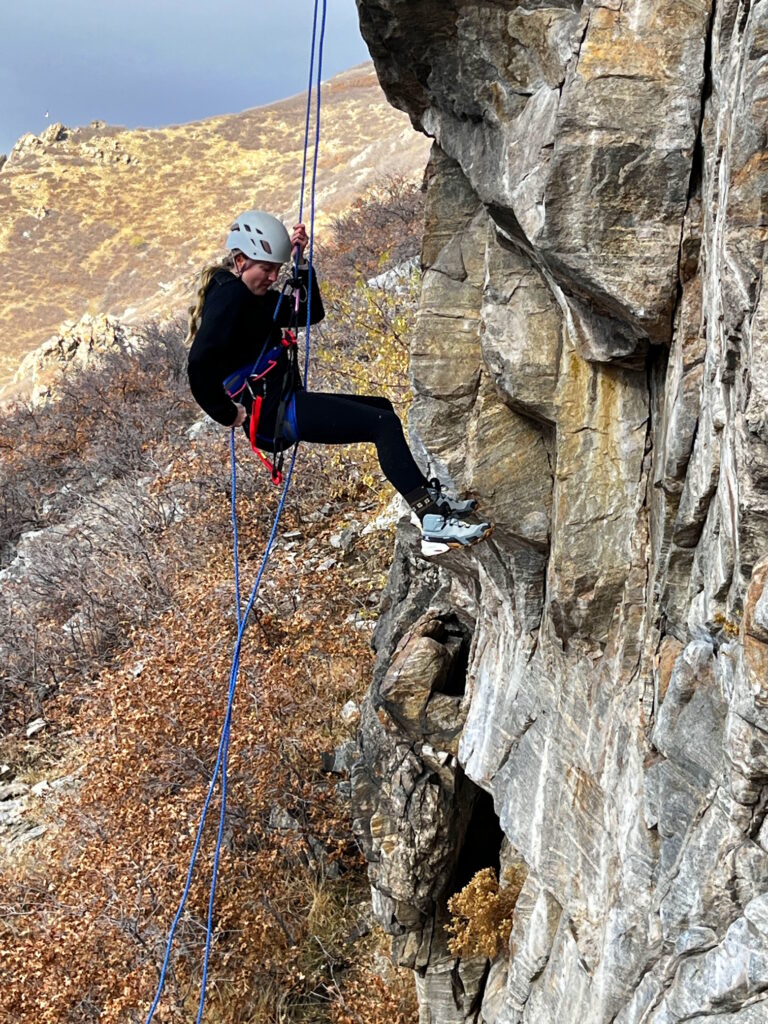
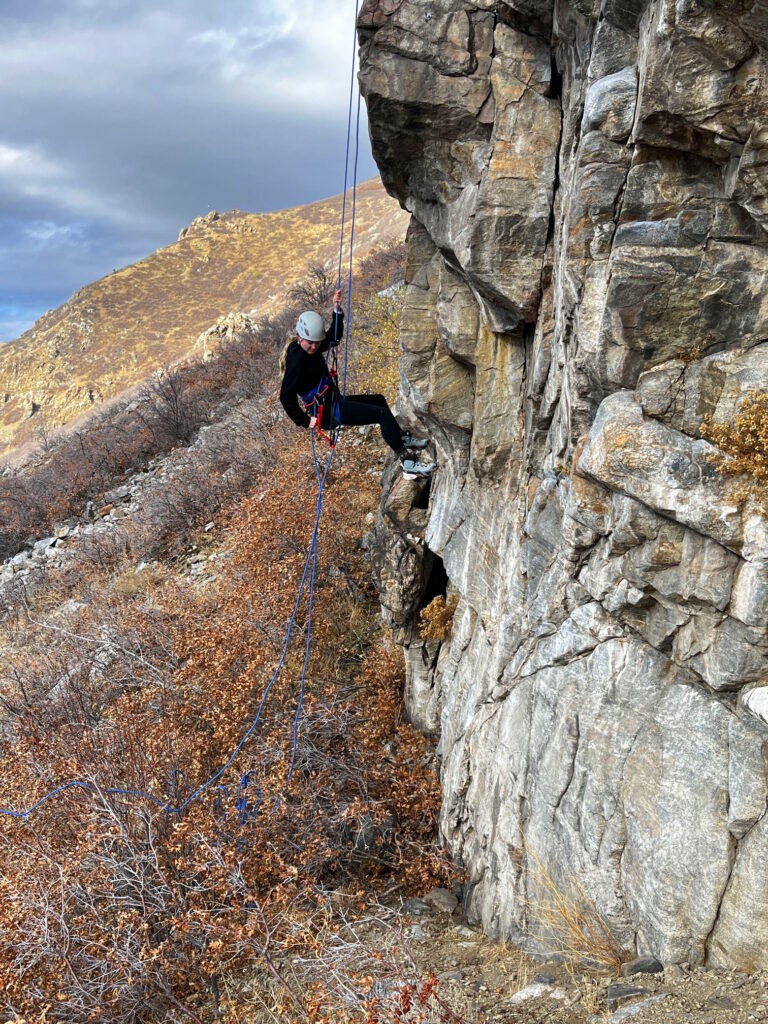
Step 10: Position Yourself
With your feet firmly on the rock, lean back, and create a perpendicular stance. This creates stability to start from.
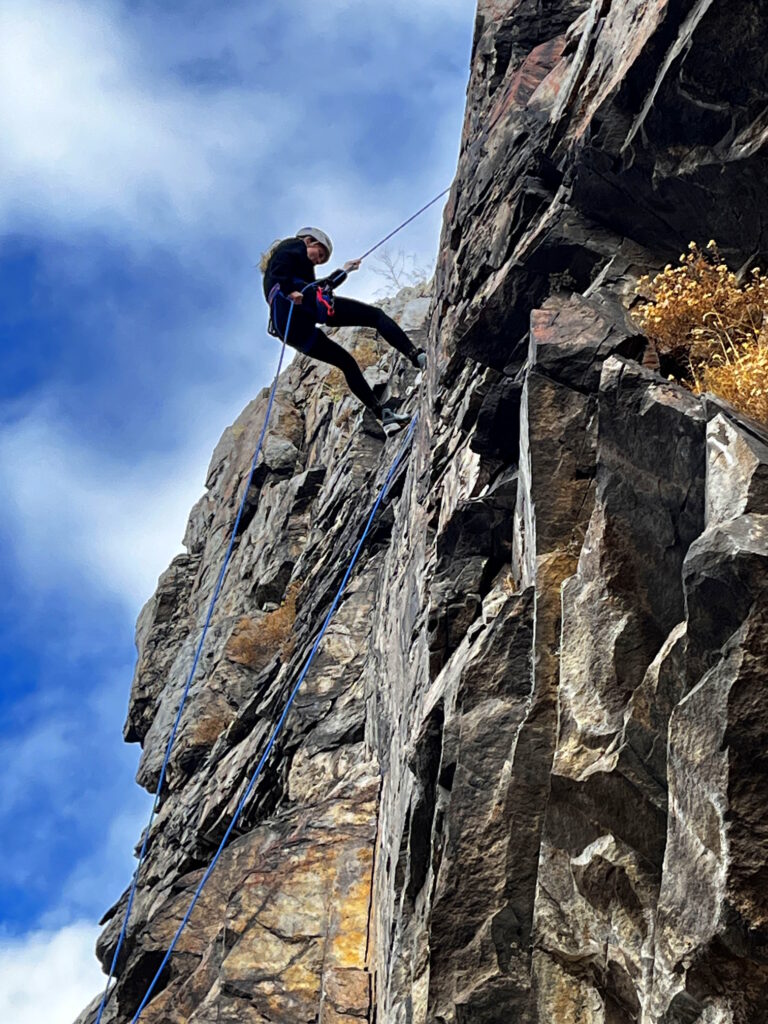
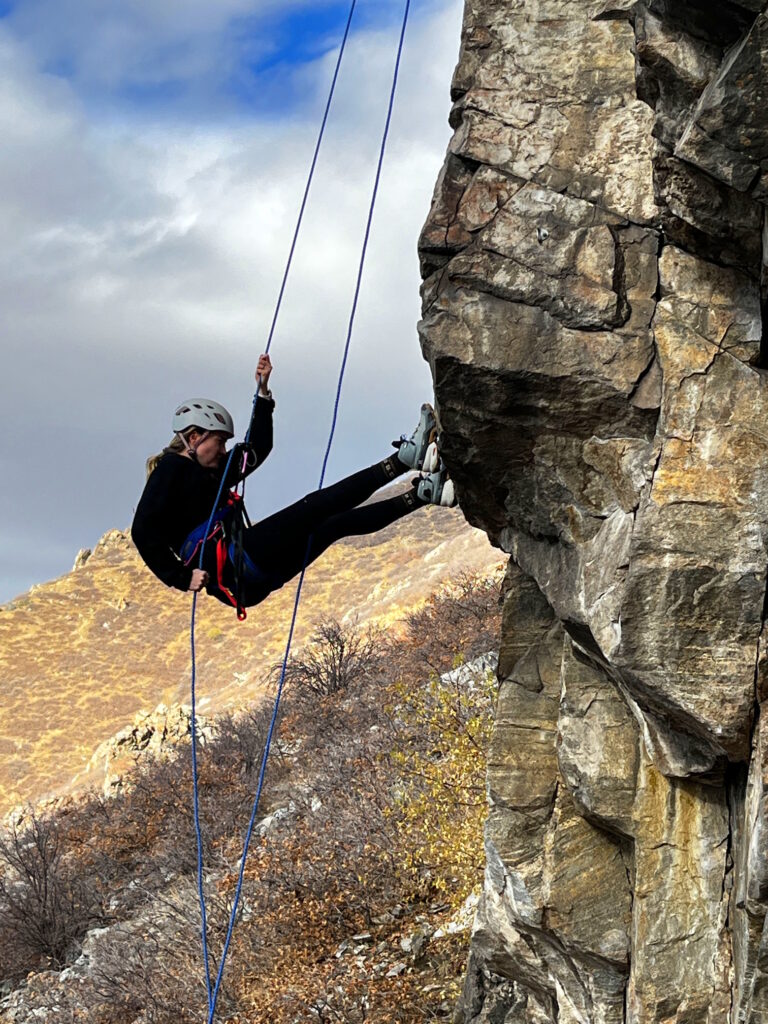
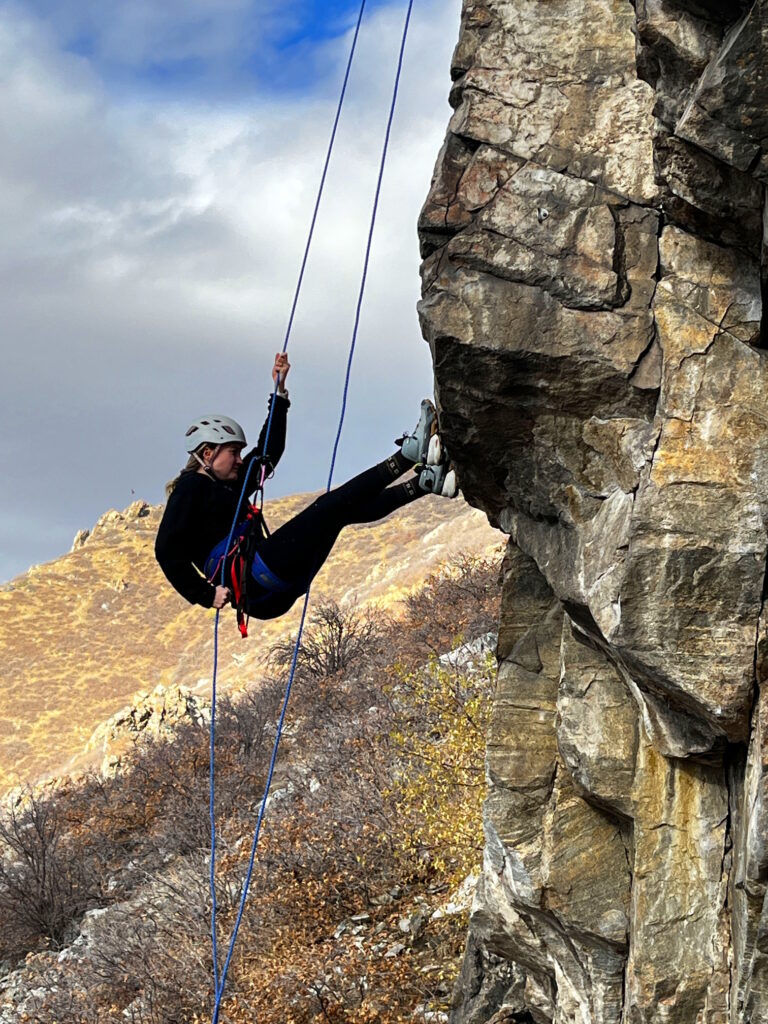
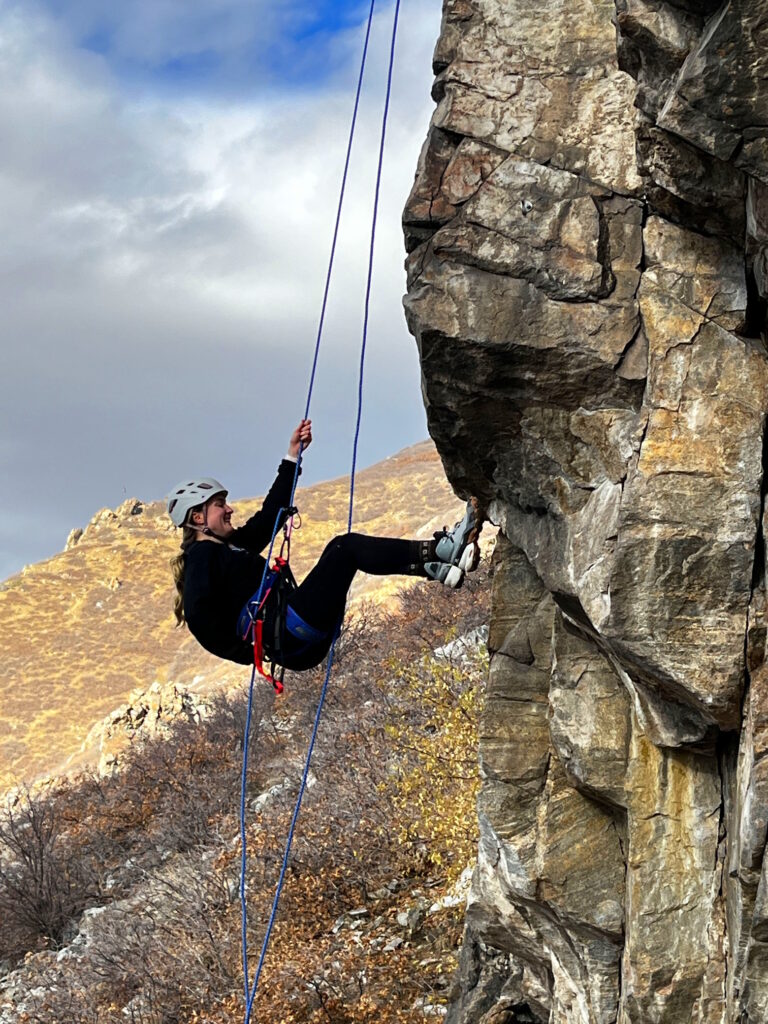
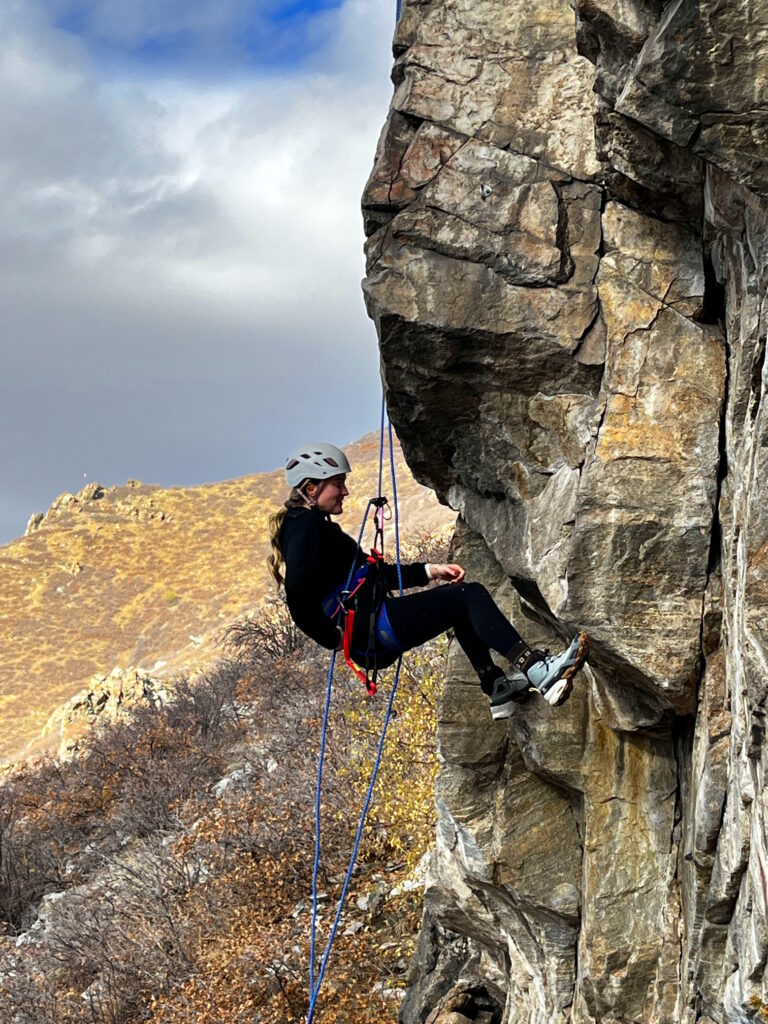
Step 11: Begin Rappelling
Walk backward down the wall, maintaining control with your brake hand. Tighten your grip to slow down or loosen it slightly to descend faster.
Step 12: Monitor Friction
Adjust your friction settings during the descent, particularly on long rappels. This helps you maintain controlled movement.
Step 13: Landing (last step)
Once you reach the bottom, leave your descender device attached to your harness if possible. Remove only the rope portion to prevent dropping or losing the device.
RAPID DESCENT (my way to remember)
R – Secure Your PAS; Clip your Personal Anchor System (PAS) to the anchor for safety.
A – Arrange the Rope; Set up the rope according to the correct rigging method.
P – Place the Rope; Drop the rope over the edge, ensuring it’s correctly positioned.
I – Inspect the Rope; Check that the rope reaches the bottom and isn’t snagged.
D – Double-Check the Knot; Ensure the knot securing the rope is properly tied and tight.
D – Descender Setup; Feed the rope through descender device, positioning it based on your dominant side.
E – Eliminate Slack; Remove any excess slack from both the descender and anchor.
S – Secure PAS; Unclip your PAS from the anchor and clip it to your harness, when ready to rappel.
C – Control the Brake(hand); Keep your brake hand at waist level to control speed.
E – Engage Your Rappelling Position; Lean back and ensure you are perpendicular to the wall.
N – Navigate Down; Begin rappelling by walking backward and controlling your descent.
T – Tighten Friction; Adjust friction during the descent for better control, especially on longer rappels.